Why do you soak shrimp in milk before frying? This simple yet effective technique has been a favorite among chefs and home cooks for years. Soaking shrimp in milk not only neutralizes fishy odors but also tenderizes the shrimp, creating a perfect texture for frying. It’s a step that ensures your seafood dish is flavorful, fresh-tasting, and ready to impress. In this article, we’ll explore the reasons behind this method, provide step-by-step instructions, and compare it to other preparation techniques, so you can confidently elevate your next shrimp recipe.
For a rich and flavorful addition to your shrimp dishes, try this recipe for Garlic Butter.
Understanding the Practice of Soaking Shrimp in Milk
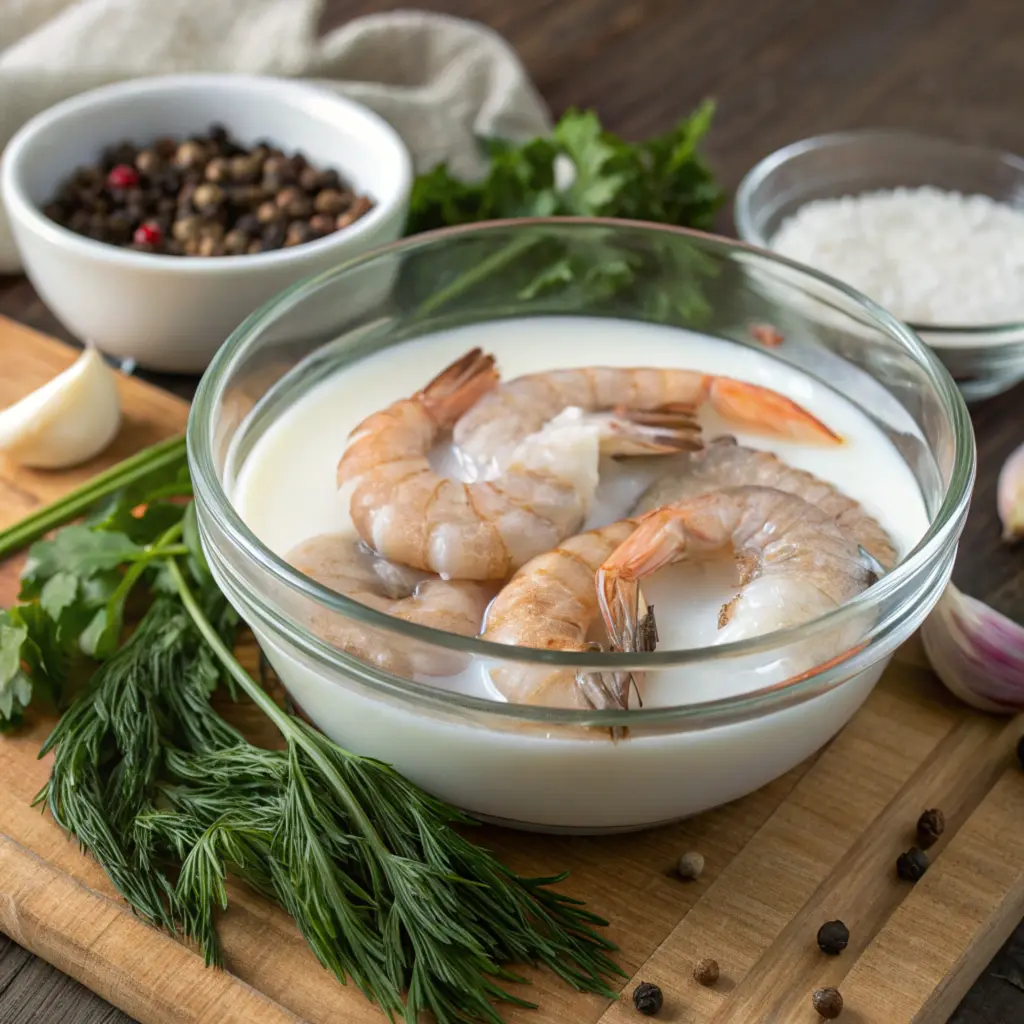
Soaking shrimp in milk before frying isn’t just a random kitchen tip. It’s a tried-and-true method passed down through generations. Milk contains proteins and mild acids that help balance out the strong, fishy aromas often associated with seafood. This soaking process sets the stage for perfectly cooked shrimp, making them the star of any dish.
Historical Background of Milk-Soaking in Culinary Traditions
Milk-soaking seafood has deep roots in culinary traditions. Historically, cooks used this method to neutralize overpowering smells and prepare fish and shellfish for cooking. Milk’s neutral flavor made it an ideal base for tenderizing proteins while keeping them moist and ready for any seasoning.
The Science Behind Milk-Soaking Shrimp
Milk is highly effective at neutralizing fishy odors in shrimp, thanks to the casein protein it contains. This protein binds with trimethylamine, the compound responsible for the odor, effectively eliminating it. According to The Science Behind Soaking Fish in Milk, milk also helps tenderize the shrimp by gently breaking down surface proteins, resulting in a fresh, mild taste.
Neutralizing Fishy Odors
One of the biggest reasons for using milk is its ability to neutralize fishy smells. Milk’s proteins, particularly casein, bind with trimethylamine, the compound responsible for the “fishy” odor, effectively washing it away. This process leaves shrimp smelling fresh without the need for overly harsh ingredients.
Tenderizing Effects on Shrimp Texture
Soaking shrimp in milk does more than just improve its aroma. The mild acidity in milk works as a natural tenderizer. It softens the shrimp’s outer layers without breaking down the delicate proteins, giving it a pleasant, chewy texture that stands up well to frying.
Enhancing Flavor Absorption
Milk preps shrimp to soak up marinades or coatings better. Because it breaks down surface proteins slightly, it opens up the shrimp to absorb seasonings evenly, ensuring that every bite is packed with flavor.
Step-by-Step Guide to Soaking Shrimp in Milk

Selecting the Appropriate Type of Milk
Choosing the right kind of milk is the first step in preparing your shrimp for frying. While whole milk is often recommended because of its rich fat content, other types like buttermilk or low-fat milk can also work. Whole milk tends to provide a creamy base that binds well with shrimp’s natural proteins, while buttermilk adds a tangy touch. Avoid using flavored or sweetened milk, as these can overpower the shrimp’s natural taste.
Non-dairy milk alternatives, such as almond or coconut milk, can be considered, but they don’t have the same casein protein found in cow’s milk. Casein plays a key role in removing odors and tenderizing the shrimp. For those who are lactose intolerant, lactose-free milk is an excellent substitute, offering the benefits of regular milk without digestive issues.
Preparing Shrimp for Soaking

To get the most out of the milk-soaking process, it’s crucial to prepare your shrimp properly. Start by peeling and deveining the shrimp. Use a small knife or shrimp deveiner to remove the shell, legs, and the thin black vein running along the back. This vein isn’t harmful but can carry a gritty texture that’s best avoided.
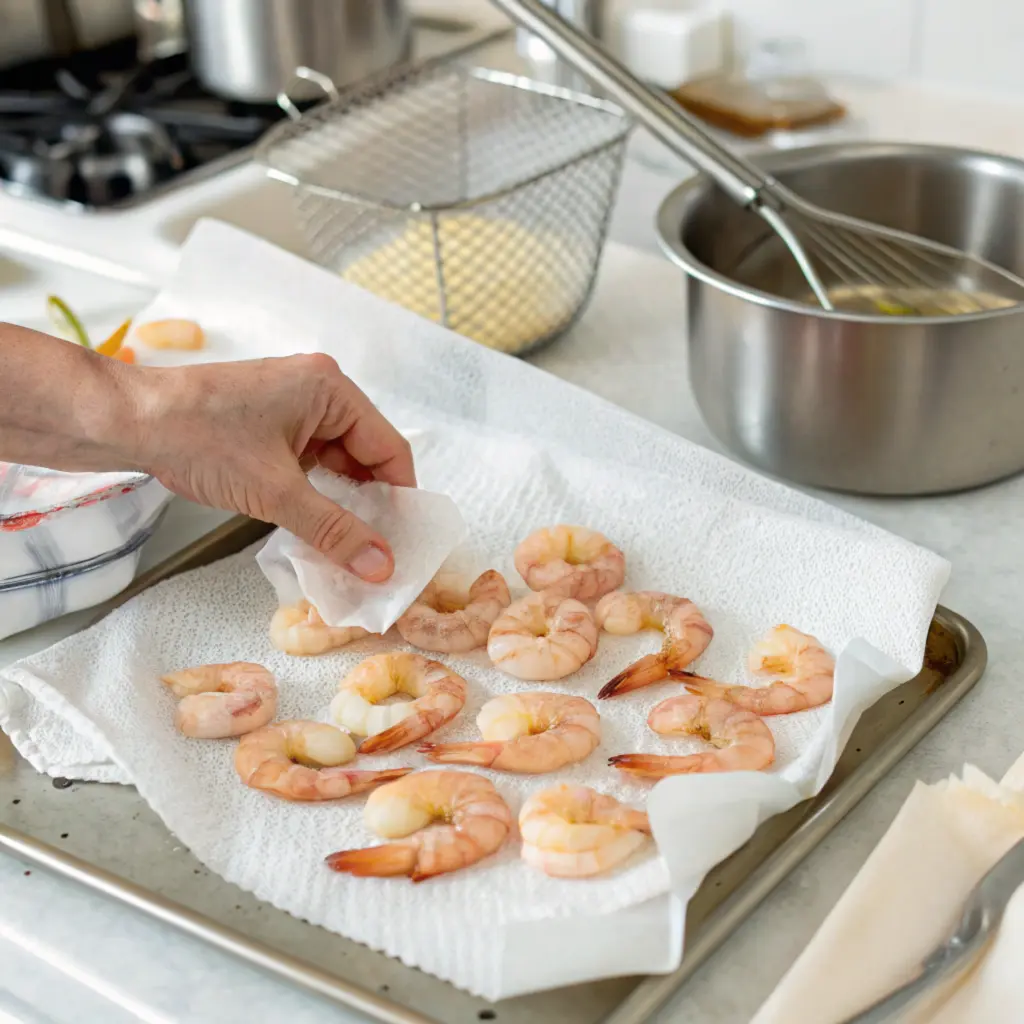
Rinse the shrimp under cold water to remove any surface debris. Once cleaned, pat them dry gently with a paper towel. Drying the shrimp ensures the milk adheres better and allows the flavors to develop fully. Place the prepared shrimp in a clean glass or ceramic bowl, as metal bowls can react with seafood and alter its flavor.
Optimal Soaking Duration
How long you soak shrimp in milk can significantly affect the outcome. Generally, 20 to 30 minutes is ideal. Soaking for less time might not neutralize the odors or tenderize the shrimp enough, while over-soaking can break down the texture, leaving it mushy.
For stronger-flavored shrimp, such as tiger prawns or wild-caught varieties, you can extend the soaking time to 45 minutes. After soaking, be sure to drain the shrimp well and pat them dry. Excess milk can interfere with the batter or frying process, so this step is essential for achieving that perfect crispy finish.
Cooking Techniques Post Milk-Soaking
Frying Milk-Soaked Shrimp

Once your shrimp has soaked and dried, it’s time to get cooking! To fry them, prepare a seasoned batter or coating. A simple mixture of flour, cornstarch, and spices like paprika, garlic powder, and cayenne works wonderfully. Dip the shrimp in the batter, ensuring an even coat.
Preheat your frying oil to 350°F (175°C). Hot oil ensures the shrimp cook quickly, locking in moisture while achieving a golden, crispy crust. Fry the shrimp in small batches to prevent overcrowding, which can lower the oil temperature and result in soggy coating. Each batch should take about 2–3 minutes. Once done, place the shrimp on a paper towel to absorb excess oil.
Alternative Cooking Methods
While frying is a classic choice, milk-soaked shrimp can also be prepared using alternative methods. For grilling, marinate the shrimp in olive oil and herbs after soaking, then thread them onto skewers. Cook them on medium heat for 2–3 minutes per side.
Baking is another healthy option. Arrange the milk-soaked shrimp on a parchment-lined baking sheet, lightly coat them with breadcrumbs or panko, and bake at 400°F (200°C) for 10–12 minutes. For an extra crispy texture, turn on the broiler for the last minute or two. These techniques retain the shrimp’s tenderness while offering versatility in flavor and presentation.
Comparing Milk-Soaking with Other Preparation Methods
Lemon Juice and Vinegar Soaks
Using lemon juice or vinegar to prepare shrimp is another popular method, especially for those looking to neutralize odors. These acidic ingredients are highly effective at removing fishy smells and can even lightly cook the shrimp, similar to the ceviche process. The acidity works quickly, often requiring only 10–15 minutes of soaking.
However, there’s a downside. While lemon juice and vinegar excel at removing odors, they can significantly alter the shrimp’s flavor, making it tangy or sour. This might not always pair well with frying. Additionally, these acids can toughen the shrimp if left to soak too long, especially for delicate varieties like pink shrimp. Milk, on the other hand, tenderizes without affecting the natural taste, offering a more neutral preparation.
Brining in Saltwater
Table: Comparing Shrimp Preparation Techniques
| Preparation Method | Purpose | Benefits | Drawbacks |
|---|---|---|---|
| Milk-Soaking | Neutralizes odors, tenderizes | Mild flavor, improved texture | Requires up to 30 minutes |
| Lemon Juice/Vinegar Soaks | Removes fishy smell, adds tanginess | Quick odor removal, tangy flavor | Can toughen shrimp if soaked too long |
| Brining in Saltwater | Retains moisture, enhances flavor | Juicy shrimp, slight sweetness | Does not remove fishy odors entirely |
Brining shrimp in saltwater is another traditional technique that enhances flavor while preserving moisture. A basic brine consists of salt, sugar, and cold water. The salt helps the shrimp retain water during cooking, preventing it from drying out, while the sugar adds a subtle sweetness. Brining usually takes 30–60 minutes.
The key difference between brining and milk-soaking lies in the outcome. Brined shrimp often have a firmer texture and a slightly enhanced flavor due to the salt absorption. However, this method doesn’t neutralize odors as effectively as milk does. Milk-soaking, thanks to casein proteins, directly targets the compounds causing the fishy smell, making it a better choice for mild, clean-tasting shrimp.
Common Mistakes to Avoid When Soaking Shrimp in Milk
Even with a straightforward process, there are common pitfalls to watch out for. Over-soaking shrimp in milk is a mistake many make. While milk works wonders for tenderizing, leaving shrimp in for too long—beyond 45 minutes—can break down their structure, leading to a mushy texture.
Another error is not rinsing or patting the shrimp dry after soaking. Excess milk residue can interfere with seasoning or frying, preventing that desired crispy coating. Finally, always use fresh milk. Spoiled milk not only ruins the shrimp but can also create unpleasant flavors that are difficult to mask. Following these tips will ensure success every time.
Benefits of Soaking Shrimp in Milk
The benefits of soaking shrimp in milk go beyond tenderizing. Milk’s unique ability to remove unwanted odors ensures the shrimp smell fresh, even if you’re working with frozen seafood. This makes it a go-to technique when preparing shrimp for guests or picky eaters.
Milk also creates a subtle base that allows spices, marinades, or batters to adhere better. This results in more flavorful shrimp that cooks evenly. Moreover, it’s a gentle preparation method, making it suitable for all shrimp varieties, from delicate rock shrimp to robust tiger prawns. With so much to offer, it’s no wonder this technique is so widely recommended.
Popular Recipes Utilizing Milk-Soaked Shrimp
Once you’ve soaked your shrimp in milk, the possibilities are endless. A classic fried shrimp recipe is always a hit—lightly breaded and fried to golden perfection. Serve with tartar sauce or a zesty remoulade for a crowd-pleasing appetizer.
For something lighter, consider shrimp tacos. After soaking, season the shrimp with cumin, chili powder, and garlic before pan-searing. Pair with fresh slaw and lime crema in a warm tortilla.
You could also use milk-soaked shrimp in a creamy pasta dish. Toss cooked shrimp into a garlic Alfredo sauce and serve over fettuccine. The milk’s tenderizing effect makes the shrimp blend beautifully into the creamy sauce, adding texture and flavor.
FAQs About Soaking Shrimp in Milk Before Frying
How long should I soak shrimp in milk?
The ideal soaking time for shrimp in milk is between 20 to 30 minutes. This duration effectively removes any fishy odor and tenderizes the shrimp without compromising its texture. For larger or stronger-flavored shrimp, like tiger prawns, soaking for up to 45 minutes may be beneficial. However, avoid exceeding this time as over-soaking can lead to a mushy consistency, which is not ideal for frying or other preparations. Why do you soak shrimp in milk before frying? Because it ensures a mild, fresh taste and tender texture.
Can I use non-dairy milk alternatives?
Yes, you can use non-dairy milk alternatives such as almond, oat, or coconut milk, especially for dietary restrictions or preferences. However, these alternatives do not contain casein, a protein found in cow’s milk that binds to odor-causing compounds in shrimp. Why do you soak shrimp in milk before frying? The casein in milk plays a major role in deodorizing and tenderizing, which non-dairy alternatives cannot replicate fully.
Does soaking shrimp in milk affect the flavor?
Soaking shrimp in milk subtly improves its flavor by neutralizing strong odors and creating a mild, creamy backdrop. The shrimp retains its natural taste without absorbing an overtly “milky” flavor. Instead, the process enhances the ability of the shrimp to pair well with marinades, seasonings, and batters, making it more versatile for cooking. Why do you soak shrimp in milk before frying? It’s to ensure the shrimp maintains its sweet and natural taste while being odor-free.
Is it necessary to rinse shrimp after soaking in milk?
Yes, rinsing shrimp lightly or patting it dry after soaking in milk is recommended. This step removes any residual milk that might interfere with seasoning or cooking methods, especially frying. Why do you soak shrimp in milk before frying? To prepare the shrimp perfectly for frying without lingering milk that might affect the batter.
Can I soak other seafood in milk?
Absolutely! Milk-soaking isn’t limited to shrimp. Fish like cod, haddock, and tilapia benefit greatly from this method, as it neutralizes odors and tenderizes the fillets. Shellfish, such as scallops or lobster tails, can also be soaked in milk to achieve similar results. However, keep in mind that soaking times may vary depending on the type and size of the seafood. Why do you soak shrimp in milk before frying? This technique can also be applied to other seafood for the same benefits.
What type of milk is best for soaking shrimp?
Whole milk is the top choice for soaking shrimp due to its high fat content and abundant casein protein. These properties make it highly effective at deodorizing and tenderizing shrimp. Buttermilk, known for its tangy flavor and tenderizing qualities, is another excellent option, particularly for fried dishes. Why do you soak shrimp in milk before frying? Because whole milk or buttermilk enhances the shrimp’s texture and flavor readiness.
Additional FAQs About Cooking and Serving Shrimp
What sauces go well with shrimp?
Shrimp pairs wonderfully with a variety of sauces, depending on the dish and cooking method. Classic options include tartar sauce, cocktail sauce, and garlic butter sauce. For a more adventurous twist, try spicy remoulade, Thai sweet chili sauce, or creamy lemon dill sauce. If serving shrimp in pasta, Alfredo or tomato-based sauces make excellent companions. For grilled shrimp, chimichurri or a tangy barbecue sauce can enhance the flavors beautifully.
Shrimp pairs wonderfully with a variety of sauces, from tangy cocktail sauce to creamy garlic butter. For a full list of delicious sauce ideas, visit this guide.
How to cook garlic shrimp recipe?
To cook a simple and flavorful garlic shrimp dish:
- Heat 2–3 tablespoons of olive oil or butter in a skillet over medium heat.
- Add 4–5 minced garlic cloves and sauté for 30 seconds until fragrant.
- Toss in peeled and deveined shrimp (about 1 pound) and cook for 2–3 minutes per side until pink and opaque.
- Season with salt, pepper, and a pinch of paprika or red pepper flakes for a hint of heat.
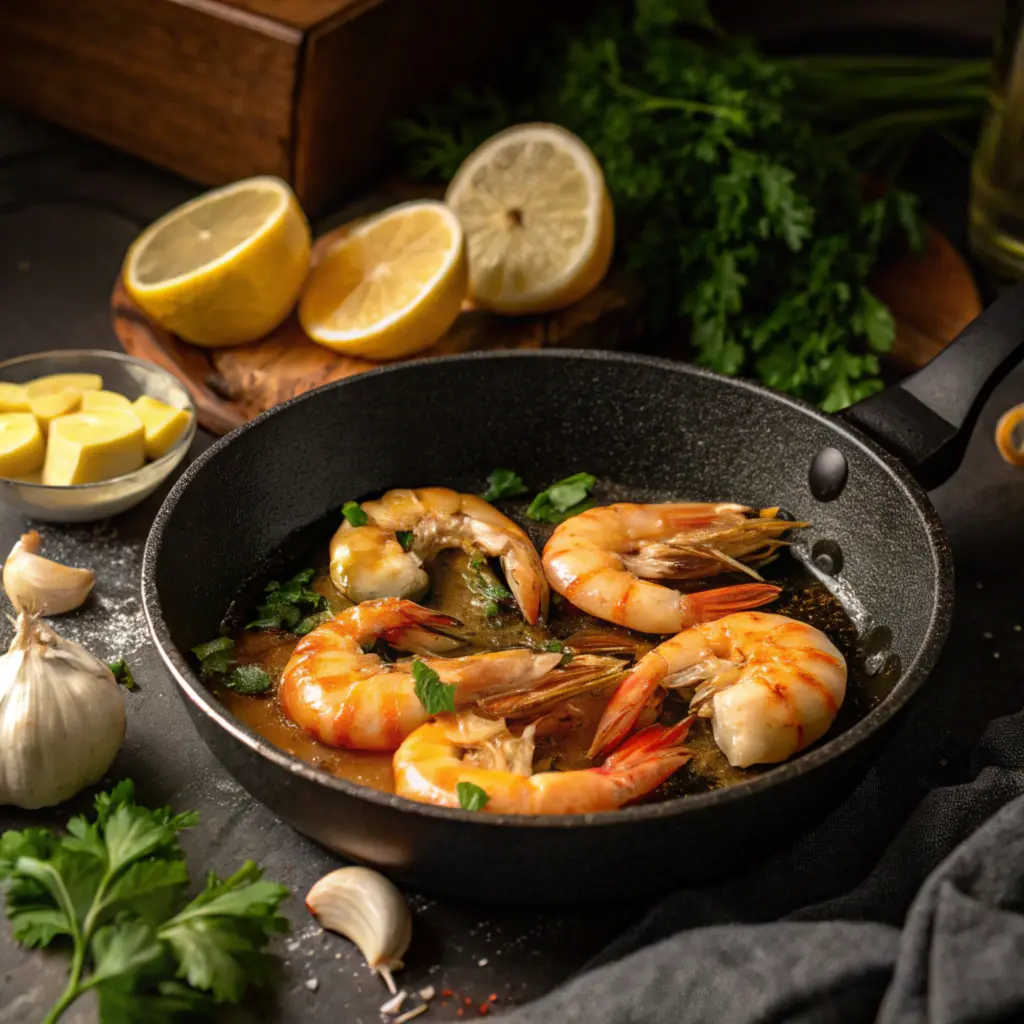
- Garnish with chopped parsley and a squeeze of lemon juice before serving. This versatile dish can be enjoyed on its own or paired with pasta, rice, or fresh bread.
Cooking garlic shrimp is quick and easy, combining simple ingredients for maximum flavor. For a step-by-step guide, check out the detailed recipe here.
What’s the tastiest way to cook shrimp?
The tastiest way to cook shrimp often depends on personal preferences, but pan-searing or grilling are top contenders. Pan-seared shrimp develop a flavorful crust when cooked in butter or olive oil, while grilling imparts a smoky, charred aroma that complements shrimp’s natural sweetness. Frying shrimp in a seasoned batter creates a crispy, indulgent texture, while sautéing with garlic and butter brings out rich, savory notes. Each method offers a unique taste, so experimenting with different spices, marinades, and cooking styles can help you find your favorite.
There are many delicious ways to cook shrimp, from sautéing to grilling and beyond. For a comprehensive guide on what’s the tastiest way to cook shrimp, check out this article.
What is shrimp with garlic sauce made of?
Shrimp with garlic sauce typically includes a few simple yet bold ingredients. The sauce is made by sautéing minced garlic in butter or oil, then adding soy sauce, chicken or vegetable broth, and a touch of sugar for balance. Cornstarch slurry is often used to thicken the sauce, giving it a glossy finish. Additional flavorings like ginger, red pepper flakes, or sesame oil can be incorporated for depth. The shrimp is cooked in the sauce, allowing it to absorb the savory, garlicky flavors before being served over rice or noodles.
Conclusion
Soaking shrimp in milk before frying is more than just a helpful tip—it’s a dependable technique that brings out the best in your seafood dishes. This method tackles fishy odors, softens the shrimp’s texture, and creates the perfect canvas for a variety of cooking styles. Whether frying for a crispy finish, grilling for a smoky touch, or baking for a healthy twist, milk-soaked shrimp delivers moist, flavorful results every time.
By grasping the simple science behind milk-soaking and steering clear of common pitfalls, you can confidently prepare shrimp that’s tender, tasty, and ready to impress. Paired with a tangy sauce, served in tacos, or even folded into a creamy pasta, milk-soaked shrimp transforms any meal into a satisfying experience. The next time you ask yourself, “Why do you soak shrimp in milk before frying?”, remember—it’s a foolproof way to make every bite worth savoring.

