Crispy French toast is the goal of every breakfast lover, but sometimes, it turns out soggy or soft instead. If you’ve ever asked yourself, “Why doesn’t my French toast get crispy?”, you’re not alone! The secret lies in using the right bread, the best soaking technique, and perfect cooking methods. In this guide, you’ll discover the best ways to achieve golden, crispy French toast every time.
Why Doesn’t My French Toast Get Crispy?
Achieving crispy French toast is a delicate dance between science and skill. The way you handle your bread, batter, and cooking technique all play critical roles. Over-soaking the bread, for instance, can lead to a soggy texture, while not cooking it long enough might prevent that golden crust from forming. Let’s dive into the foundational elements.
Looking for a detailed recipe? Check out Hawaiian Roll French Toast: A Sweet and Savory Breakfast Delight to learn how to create this delicious twist on a classic breakfast.
The Importance of Bread Selection
Choosing the Right Type of Bread
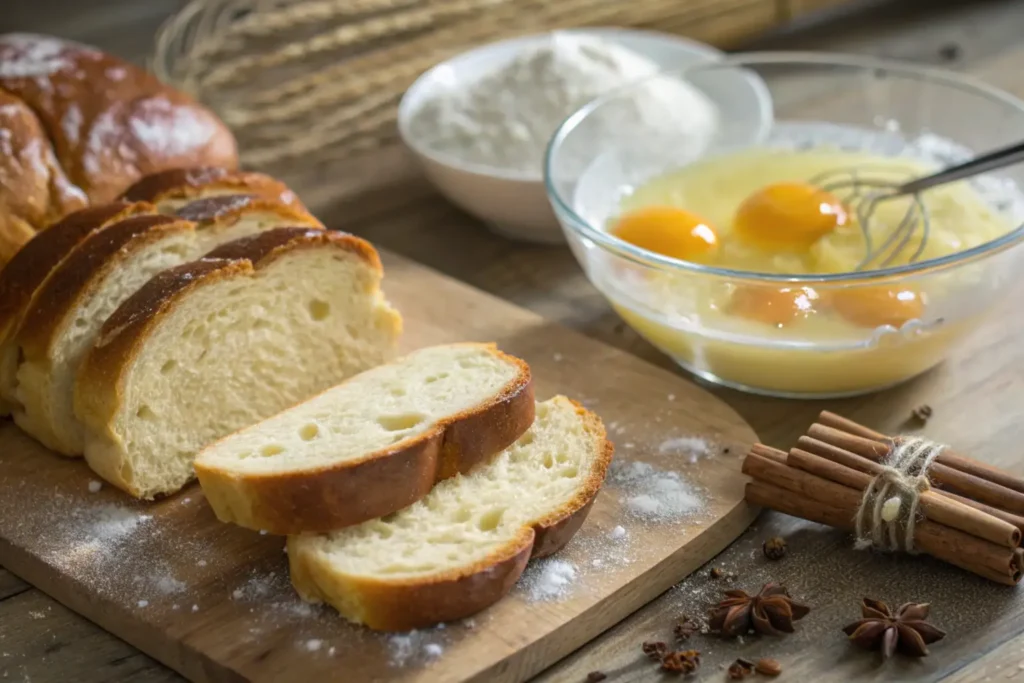
The bread you pick sets the stage for everything that follows. Opt for thick-cut, sturdy varieties like challah, brioche, or sourdough. These types hold up well under soaking and provide a structure that’s perfect for crisping. Avoid soft, pre-sliced sandwich bread, as it tends to break apart and absorb too much liquid.
The Role of Bread Freshness in Achieving Crispiness
Did you know that slightly stale bread works best for French toast? It’s true! Day-old bread absorbs the batter without becoming too mushy. If all you have is fresh bread, don’t worry—just dry it out in the oven at a low temperature for a few minutes before starting.

Preparing the Perfect Batter
Ideal Egg-to-Milk Ratios
The key to great French toast batter lies in balancing the eggs and milk. Too much milk can leave the toast soggy, while too many eggs can make it overly dense. A good rule of thumb is two eggs for every half cup of milk.
Enhancing Flavor with Spices and Sweeteners
Adding a pinch of cinnamon, nutmeg, or vanilla extract can take the flavor of your batter to the next level. A small spoonful of sugar or honey is optional, but it can help create a caramelized crust that contributes to crispiness.
Bread Types, Thickness, and Recommended Soaking Times for Crispy French Toast
| Bread Type | Ideal Thickness | Recommended Soak Time | Notes |
|---|---|---|---|
| Brioche | ¾” to 1″ (2–2.5 cm) | 10–15 seconds per side | Rich, buttery flavor, absorbs batter well without falling apart |
| Challah | ¾” to 1″ (2–2.5 cm) | 10–15 seconds per side | Slightly sweet and sturdy, ideal for a crisp exterior |
| Sourdough | ¾” (2 cm) | 5–10 seconds per side | Adds a subtle tang; denser texture can achieve excellent crispiness |
| Artisan/Rustic Loaf | ¾” to 1″ (2–2.5 cm) | 10–15 seconds per side | Thick crust and chewy interior help maintain structure and crunch |
| Hawaiian Rolls | Whole or halved | Brief dip (just a few seconds) | Softer bread; minimal soak needed to avoid sogginess |
Soaking the Bread: Timing and Technique
Avoiding Over-Soaking
Over-soaking is one of the biggest culprits behind soggy French toast. When bread absorbs too much batter, it loses its structure and turns mushy during cooking. To avoid this, dip each slice into the batter for just a few seconds on each side—long enough to coat it thoroughly but not so long that it becomes waterlogged. For thick bread, like brioche or challah, aim for 10–15 seconds per side. If the batter starts pooling in the center, it’s a sign you’ve soaked it too long.
Ensuring Even Absorption
Even absorption is key to consistent results. Instead of plopping the bread into the batter and letting it sit, gently press it down with a fork or your fingers to ensure both sides are evenly coated. Stir the batter occasionally to redistribute any spices or ingredients that may settle at the bottom. Pro tip: Soak one slice at a time to maintain control and prevent the batter from becoming diluted. This little extra effort goes a long way toward making French toast crispy and delicious!
Cooking Temperature and Equipment
Selecting the Appropriate Pan
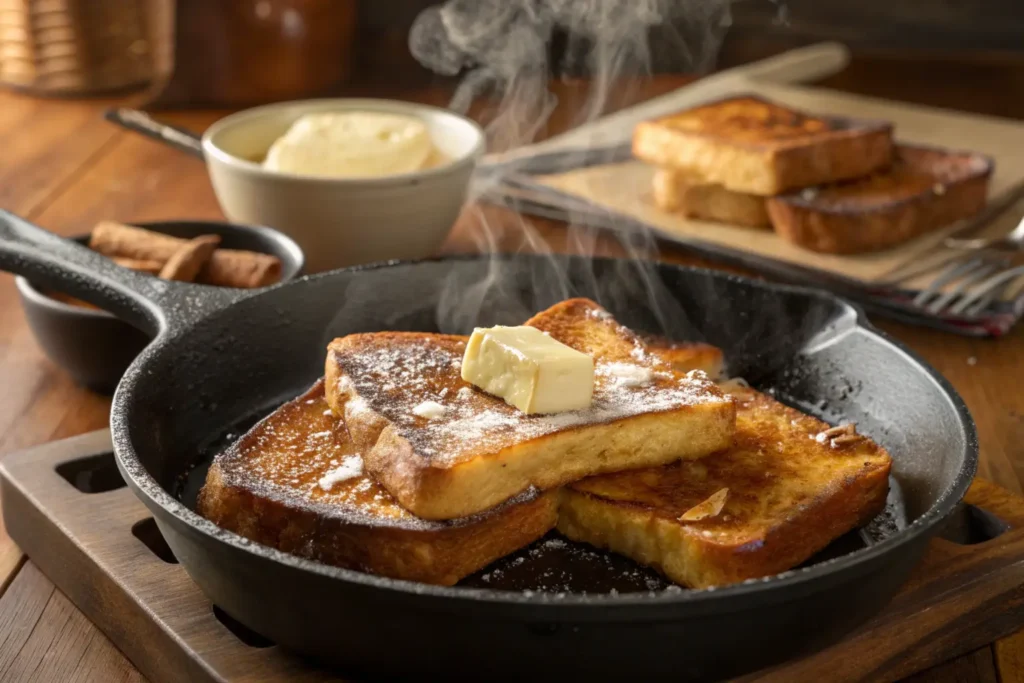
The pan you use can make or break your French toast. A non-stick skillet is a safe choice because it prevents sticking and ensures even cooking. However, for the ultimate crispiness, a cast-iron skillet is a game-changer. It distributes heat evenly and retains high temperatures, creating the perfect environment for a golden-brown crust. Avoid lightweight pans, as they often result in uneven heat and patchy cooking.
Optimal Heat Settings for Crispiness
Getting the temperature just right is crucial. If the heat is too low, the bread will soak up the cooking fat, becoming greasy instead of crispy. On the flip side, high heat can scorch the outside while leaving the inside undercooked. Medium heat is the sweet spot—hot enough to form a crust but controlled enough to cook the center evenly. Preheat the pan for a few minutes before adding the toast, and test the temperature with a small drop of batter. If it sizzles gently, you’re good to go.
Additionally, don’t overcrowd the pan. Cooking slices one or two at a time ensures they have enough space to crisp up properly without steaming. It’s worth the patience for that perfect crunch!

Cooking Fats: Butter vs. Oil
Impact on Texture and Flavor
Choosing between butter and oil isn’t just about preference—it directly affects the texture and flavor of your French toast. Butter is a popular choice because it adds richness and a slightly nutty flavor as it browns. However, it can burn quickly, leading to uneven cooking or a bitter taste if not monitored closely.
Oil, on the other hand, has a neutral flavor and a higher tolerance for heat. For a crispy finish, oils like canola, sunflower, or coconut work well. That said, some cooks swear by combining the two. Start with a bit of oil to maintain the right temperature, then add butter for flavor. This hybrid approach gives you the best of both worlds—a golden crust without the risk of burning.
Smoke Points and Their Significance
Understanding the smoke point of your cooking fat is vital for avoiding burnt toast and ensuring consistent crispiness. Butter has a lower smoke point (about 350°F/175°C), meaning it starts to break down at moderate heat. This makes it suitable for medium settings but less reliable for higher temperatures.
Oils like canola or sunflower have smoke points around 400°F/205°C or higher, making them better for hotter pans. Using fats with the right smoke point keeps your toast cooking smoothly, with no burnt bits or bitter flavors. So, whether you go for butter, oil, or both, remember: a little fat goes a long way toward creating that irresistible crunch!
To learn more about the impact of dietary choices on overall health, check out Healthline for a wide range of nutritional articles
Common Mistakes Leading to Soggy French Toast
Overcrowding the Pan
One of the most common pitfalls in making French toast is overcrowding the pan. When too many slices are packed together, steam gets trapped, preventing the bread from crisping up properly. Instead of achieving a golden crust, you end up with slices that are soft or even soggy. To avoid this, give each piece enough space to breathe. Cook only one or two slices at a time, depending on the size of your pan. It might take a little longer, but the results—a crispy, evenly cooked slice—are worth it.
Overcrowding can also lower the pan’s temperature, as the heat gets distributed across too much surface area. If you notice that the sizzling sound fades when you add more slices, it’s a sign the pan is overloaded. Patience is your ally here; working in small batches ensures each slice gets the care it needs.
Inadequate Cooking Time
Rushing the cooking process is another recipe for disappointment. Under-cooking your French toast leaves the center soggy and prevents the outer crust from forming. Each slice needs time for the batter to set and the edges to crisp up beautifully. On medium heat, cook each side for about 3–4 minutes or until it turns a deep golden-brown.
Flipping too soon is another rookie mistake. Resist the urge to check constantly—wait until the first side is fully cooked before turning it over. If the toast starts browning too quickly or unevenly, lower the heat slightly to allow the interior to cook through. Proper cooking time is essential for that perfect balance between a crispy crust and a tender, custardy middle.
Techniques to Achieve Extra Crispiness
Utilizing a Wire Rack
A wire rack is a game-changer when it comes to keeping French toast crispy. After cooking each slice, instead of placing it directly on a plate, transfer it to a wire rack set over a baking sheet. This simple trick allows air to circulate around the toast, preventing condensation from forming underneath, which can make it soggy.
If you’re cooking for a crowd and need to keep multiple slices warm, place the wire rack in an oven set to a low temperature (around 200°F/93°C). This not only keeps your toast warm but also helps maintain its crunchiness until you’re ready to serve. Avoid stacking the slices, as this traps moisture and undoes all your crisping efforts.
Finishing in the Oven
Finishing your French toast in the oven is another foolproof way to lock in crispiness. Once the slices have been cooked on the stovetop, transfer them to a baking sheet and pop them into a preheated oven at 375°F (190°C) for 5–7 minutes. This additional step dries out any excess moisture while enhancing the crunch of the outer crust.
For an extra-special touch, consider brushing the toast with a light coating of melted butter or oil before baking. This helps intensify the golden-brown color and adds an irresistible texture. The oven finish is particularly helpful if your stovetop didn’t cook the slices as evenly as you’d like. It’s the final flourish that guarantees a perfect result!

Creative Variations for Added Texture
Incorporating a Crust with Nuts or Cornflakes
For a French toast with an unforgettable crunch, try adding a crust of crushed nuts or cornflakes. After soaking the bread in batter, press each slice gently into a plate of your chosen topping to coat both sides. Almonds, pecans, or even shredded coconut bring a delightful nutty texture, while cornflakes create a crispy exterior that contrasts beautifully with the soft interior.
The added crust also enhances flavor. For instance, lightly sweetened cornflakes can add a subtle hint of sweetness, while nuts bring a roasted, earthy undertone. Just be mindful of cooking temperature—toppings can burn faster than bread, so adjust the heat slightly to ensure they toast evenly without charring.
Exploring Different Bread Types for Unique Crispiness
Switching up the type of bread you use can lead to exciting new textures. Brioche and challah are classics, but why not try French toast made with crusty artisan bread or even whole-grain options? Artisan breads like ciabatta or baguette slices offer a firmer crust that becomes delectably crispy when cooked.
For a more adventurous twist, experiment with pretzel bread or flatbreads like naan. These unconventional choices can deliver surprising results in both texture and flavor. Thicker slices from rustic loaves can be particularly satisfying, providing a hearty crunch on the outside while staying soft and creamy within. The possibilities are endless when you think beyond traditional bread!
Serving Suggestions to Avoid Soggy French Toast and Maintain Crispiness
Timing Your Service to Achieve Crunchy French Toast
When it comes to how to get French toast crispy, timing is everything. Serve each slice immediately after cooking to prevent it from turning into soggy French toast. The longer it sits, the more residual heat and steam can rob it of its crunch. If you’re making crispy French toast in multiple batches, keep them warm on a wire rack in a low oven rather than stacking or covering them with foil. This simple step avoids trapping moisture that leads to French toast not crispy.
For an extra boost, use warm plates. Placing your freshly made slices on cold plates can cause them to lose that hard-earned crispiness. By warming the serving plates beforehand, you’re one step closer to achieving crunchy French toast perfection.
Complementary Toppings and Syrups for Making Crispy French Toast
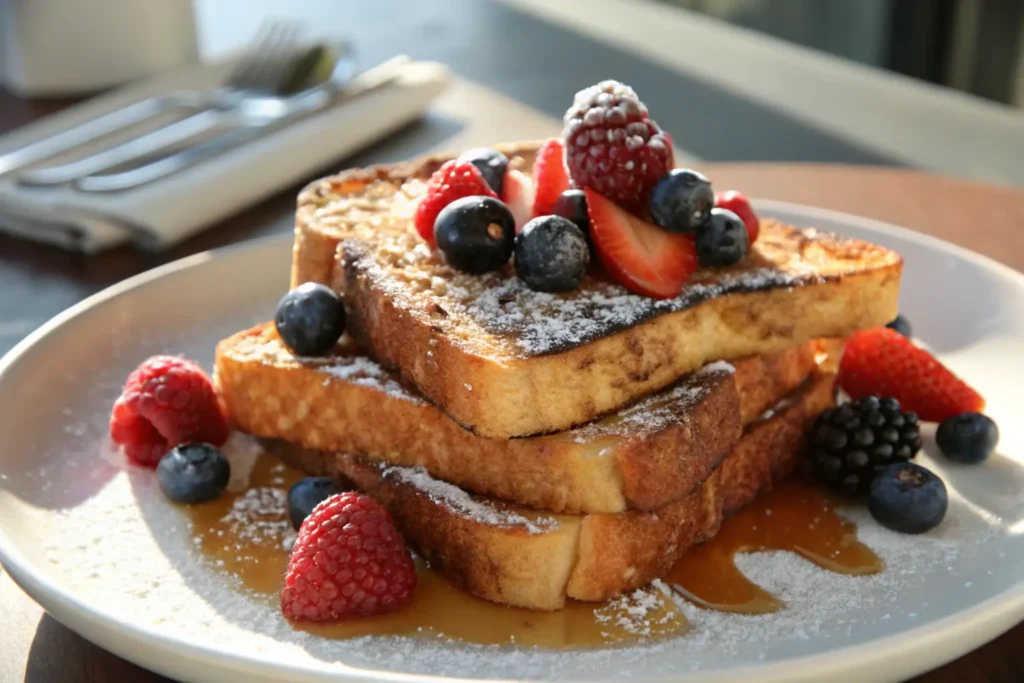
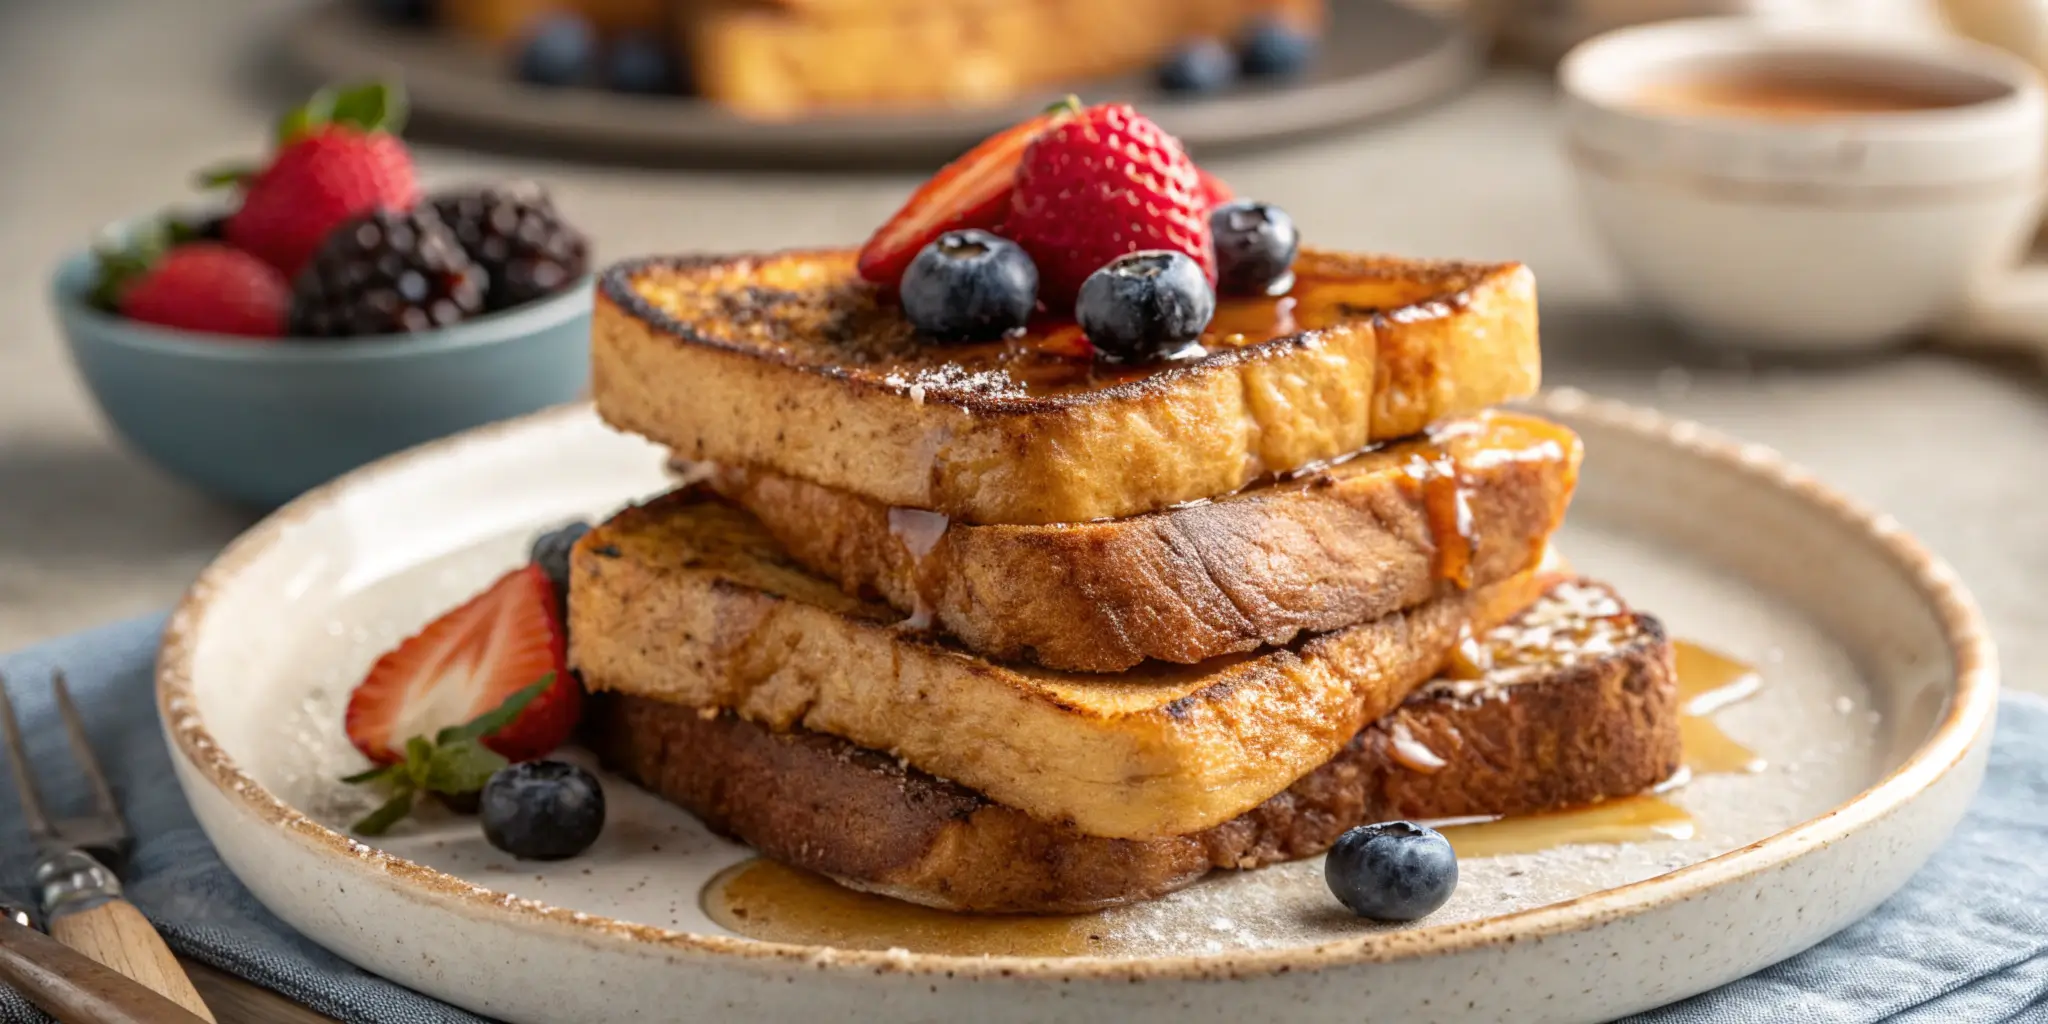
The toppings you choose can make or break your efforts at achieving crunchy French toast. Instead of soaking the bread with syrup, serve syrup on the side. This allows guests to drizzle as needed, preserving the delicate crunch. Fresh fruits such as berries or bananas provide flavor without compromising texture, helping you avoid soggy French toast scenarios.
Whipped cream, honey, or a light dusting of powdered sugar can add visual appeal and sweetness without turning your crispy creation limp. For a unique twist, spread a thin layer of cream cheese or yogurt before adding fruit to lock in crispiness. By carefully timing your service and choosing the right toppings, you’ll know exactly how to get French toast crispy and keep it that way.
Proper Storage and Reheating Methods for Achieving Crunchy French Toast
Preserving Texture to Avoid Soggy French Toast During Storage
If you’ve ever wondered, “Why doesn’t my French toast get crispy?” even after carefully selecting ingredients and following the right steps, proper storage is the key to preventing that disappointment. When dealing with leftovers, the way you store them can make all the difference. To steer clear of asking yourself again, “Why doesn’t my French toast get crispy?” allow each slice to cool completely on a wire rack before placing it into an airtight container. Storing warm or steaming slices traps unwanted moisture, resulting in a soft, limp texture that leaves you questioning, “Why doesn’t my French toast get crispy?” rather than savoring a perfectly crunchy bite. Layer parchment paper between slices and store them in the refrigerator for up to two days to avoid this common pitfall and help ensure you never have to ask, “Why doesn’t my French toast get crispy?” again.
For longer storage, freezing is an excellent solution. Lay the slices on a baking sheet to freeze individually, then transfer them to a freezer-safe bag. By taking this step, you eliminate the need to ever ask, “Why doesn’t my French toast get crispy?” after reheating. Instead, this method helps maintain the structure and texture, ensuring that when the time comes, you’ll know exactly how to keep them crunchy.
Reheating Techniques to Restore Crispiness
If reheating leftovers often leads you to wonder, “Why doesn’t my French toast get crispy?” consider your reheating method. Avoid microwaving at all costs, as this can turn even the crispiest slice limp. Instead, use an oven or toaster oven at 375°F (190°C) for 5–10 minutes. This approach not only revives the crunch but also ensures you won’t have to ask, “Why doesn’t my French toast get crispy?” after enjoying your reheated meal.
Another reliable reheating technique involves warming the slices in a skillet with a small amount of butter or oil over medium heat. This simple method keeps you from pondering, “Why doesn’t my French toast get crispy?” and instead lets you reclaim that delightful, toasty exterior. By mastering both proper storage and these quick reheating tips, you can finally put the question “Why doesn’t my French toast get crispy?” to rest and enjoy consistently crunchy French toast every time.
Frequently Asked Questions
Can I Use Non-Dairy Milk Alternatives?
Absolutely! Non-dairy milk alternatives like almond, oat, soy, or coconut milk work wonderfully for French toast. Choose an option that complements the flavor profile you’re aiming for. For example, almond or oat milk has a neutral taste, while coconut milk adds a subtle tropical flair. Just be mindful of consistency; thicker options like oat milk may require slight adjustments to the egg-to-milk ratio.
What’s the Best Bread Thickness for French Toast?
Thicker is better when it comes to French toast. Slices between ¾ to 1 inch thick strike the perfect balance—they’re sturdy enough to hold the batter without falling apart and allow for a crisp outer layer while maintaining a tender center. Thinner slices often turn soggy, especially during soaking and cooking.
How to Make French Toast with Hawaiian Rolls
Hawaiian rolls bring a sweet, buttery flavor that’s perfect for French toast. Start by slicing the rolls in half horizontally or leaving them whole for mini French toast bites. Dip each roll lightly into the batter to avoid over-soaking. Cook on medium heat in a buttered skillet until golden brown on both sides. These rolls are naturally soft, so shorter soaking and cooking times will help retain their shape while achieving a crispy crust.
For more details and creative ideas, visit How to Make French Toast with Hawaiian Rolls: A Sweet Twist on Breakfast and discover how to turn these rolls into a delightful morning treat.
How to Make French Toast with King’s Hawaiian Rolls
Making French toast with King’s Hawaiian rolls follows a similar process. For a fun twist, pull the rolls apart into individual portions and coat them with batter. Cook them in batches on a non-stick skillet or bake them in a preheated oven at 375°F (190°C) for about 10 minutes, flipping halfway through. Their slightly sweet and fluffy texture makes them a crowd-pleasing choice for breakfast or brunch.
For step-by-step instructions and pro tips, check out How to Make Perfect French Toast with King’s Hawaiian Rolls to create a delicious variation of this breakfast classic.
What Is the Trick to Not Soggy French Toast?
The trick to avoiding soggy French toast lies in using slightly stale bread, keeping your batter balanced (two eggs per half-cup of milk), and not over-soaking the slices. Additionally, cooking on medium heat ensures the toast has enough time to crisp up without burning. For added insurance, place cooked slices on a wire rack to cool instead of directly on a plate.
If you’re still wondering what is the trick to not soggy French toast, check out The Ultimate Guide to Preventing Soggy French Toast Every Time for even more tips and tricks to make your breakfast perfect.
How Long Can You Leave Hawaiian Rolls Out?
Hawaiian rolls can safely sit out at room temperature for up to two days, provided they are stored in their original packaging or an airtight container. If you plan to use them later, freezing is a better option to maintain freshness and texture. Once exposed to air, they may dry out, so sealing them properly is essential for keeping them soft and fluffy.

