How to keep the bottom crust of a chicken pot pie from getting soggy is one of the biggest challenges home cooks face. Everyone wants a crispy, golden bottom crust, but achieving that perfect texture can feel tricky, especially when it turns out soggy and unappetizing. The good news? You don’t have to struggle anymore. This guide will show you practical steps to keep the bottom crust of your chicken pot pie from getting soggy. By focusing on proper preparation, baking techniques, and smart ingredient handling, you can create a pie that’s deliciously crisp on the outside and warm and hearty inside. Let’s dive in!
Introduction: Tips for Chicken Pot Pie Crust Perfection
The Appeal of Chicken Pot Pie with a Crisp Bottom Crust
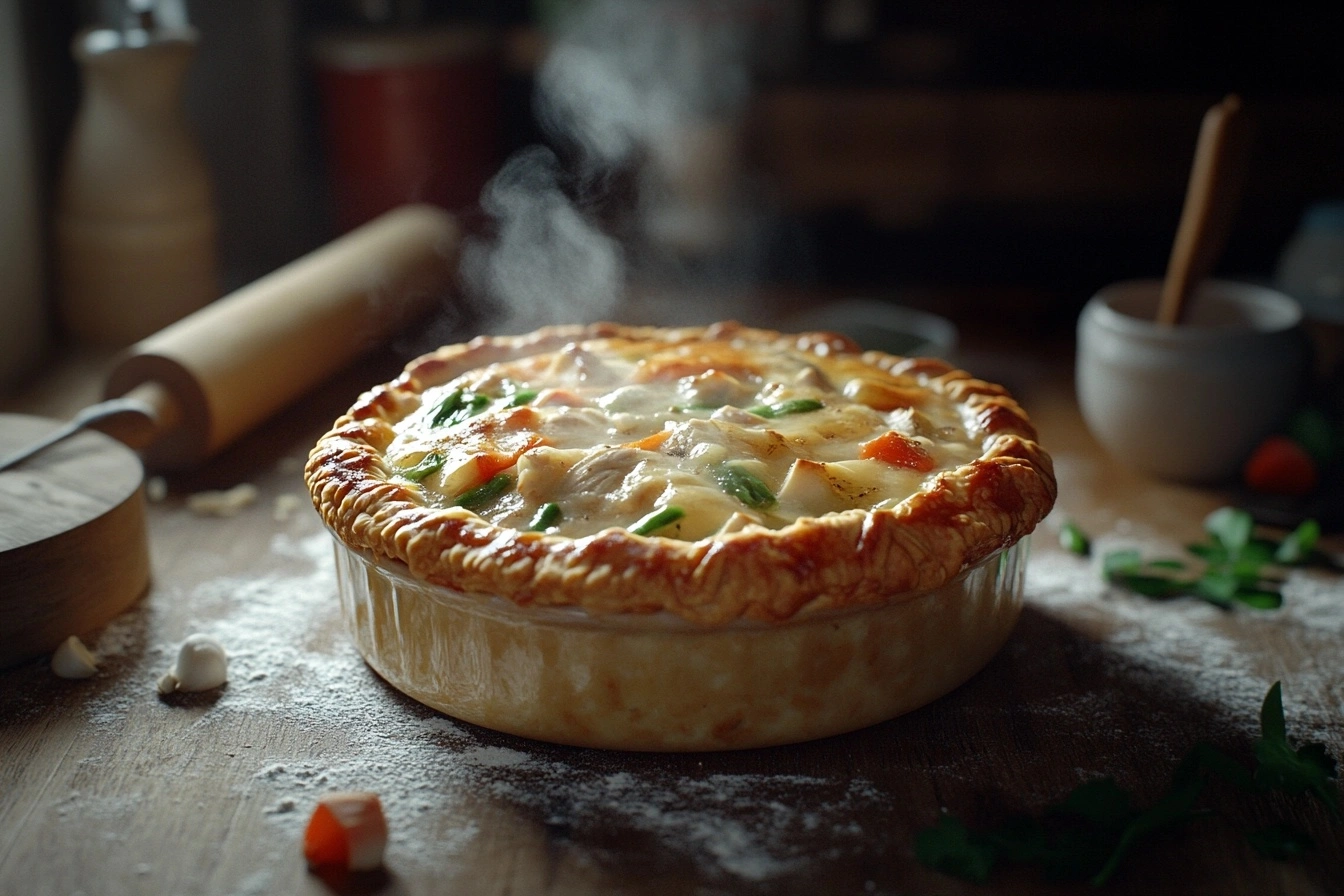
There’s something comforting about a perfectly baked chicken pot pie. With its golden, flaky crust and hearty, bubbling filling, it’s the kind of dish that feels like a warm hug on a plate. Packed with tender chicken, fresh vegetables, and a creamy sauce, this classic meal is both satisfying and versatile. Whether you stick to a traditional recipe or put your own spin on it, chicken pot pie rarely disappoints—well, unless the bottom crust turns soggy.
A soggy bottom crust is a heartbreaking letdown. You slice into what should be a masterpiece, only to find a crust that’s soft and mushy instead of crisp and sturdy. It’s a common problem, but fortunately, it’s also preventable.
Common Issue: How to Avoid Soggy Pot Pie Crust
A soggy bottom crust is one of the most frustrating challenges for home cooks. Often, the filling’s moisture escapes during baking and seeps into the crust, leaving it wet and sticky. Ironically, this issue can arise even when the top crust looks golden and perfectly cooked. So, what’s going wrong, and how can you fix it? This guide tackles those questions with practical advice to ensure every bite of your pie is delicious and satisfying.
For a simple and flavorful approach to making mini chicken pot pies, don’t miss this detailed recipe on mini chicken pot pies, which offers step-by-step instructions and tips.
Causes of Soggy Pie Crust and How to Prevent It
Excess Moisture in the Filling: Tips to Prevent Soggy Pie Crust
Too much moisture in the filling is the leading cause of a soggy pie crust. Ingredients like chicken, vegetables, and sauce release liquids as they cook, which can pool at the bottom and saturate the crust. Without addressing this issue—whether by thickening the sauce or pre-cooking ingredients—the crust has little chance of staying crispy.
Inadequate Baking Techniques: How to Achieve a Crisp Bottom Crust for Chicken Pot Pie
Improper baking techniques can doom your crust before it even has a chance. If you skip preheating the oven or bake at too low a temperature, the crust won’t cook through properly. Instead, it remains soft and doughy while the filling continues to release moisture, creating a soggy mess.
Poor Heat Distribution: Avoid Soggy Pot Pie with the Right Dish
The choice of pie dish plays a bigger role than you might think. Glass dishes are excellent for monitoring the crust during baking, while metal pans heat quickly and evenly, promoting crispness. Ceramic dishes, though beautiful, often cause uneven baking, increasing the risk of a soggy bottom.
Pre-Baking (Blind Baking) the Bottom Crust
What Is Blind Baking?
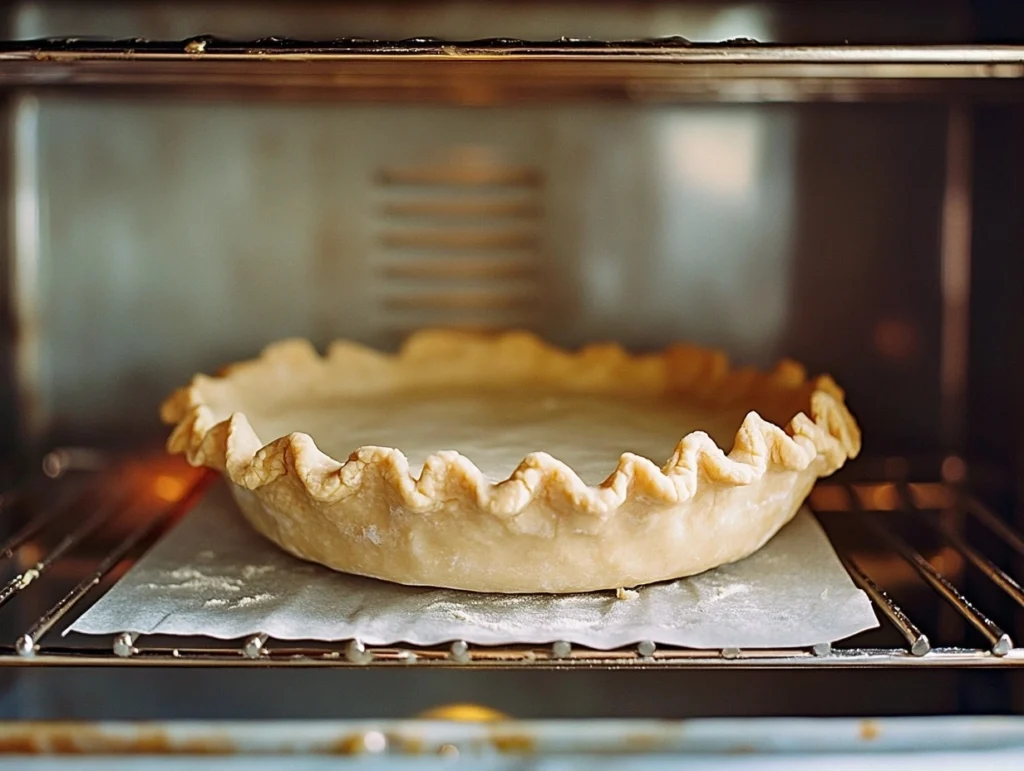
Blind baking is a technique where the bottom crust is partially or fully baked before adding the filling. This pre-cooking step helps set the crust, making it less likely to absorb excess moisture from the filling. It’s commonly used in pies with wet fillings, like custards or savory chicken pot pie. By blind baking, you give the crust a head start, ensuring it holds its structure and stays crisp.
Step-by-Step Guide to Blind Baking
- Prepare the Dough: Roll out your pie dough and carefully place it into your pie dish. Trim any overhang and crimp the edges as desired.
- Chill the Dough: Refrigerate the crust for 15–30 minutes. This step prevents shrinking during baking.
- Add Weight: Line the crust with parchment paper or aluminum foil, then fill it with pie weights, dried beans, or uncooked rice.
- Bake: Preheat your oven to 375°F (190°C) and bake the crust for about 15 minutes.
- Remove Weights: Take out the weights and parchment, then bake for another 5–7 minutes until the crust is lightly golden.

Benefits of Blind Baking
Blind baking significantly reduces the risk of a soggy bottom crust by partially cooking it before the wet filling is added. This technique creates a firm layer that resists moisture, ensuring your crust remains flaky and crisp. Moreover, blind baking gives you a visual checkpoint—you can make sure the crust is perfectly baked before moving on.
Creating a Moisture Barrier
Applying an Egg Wash
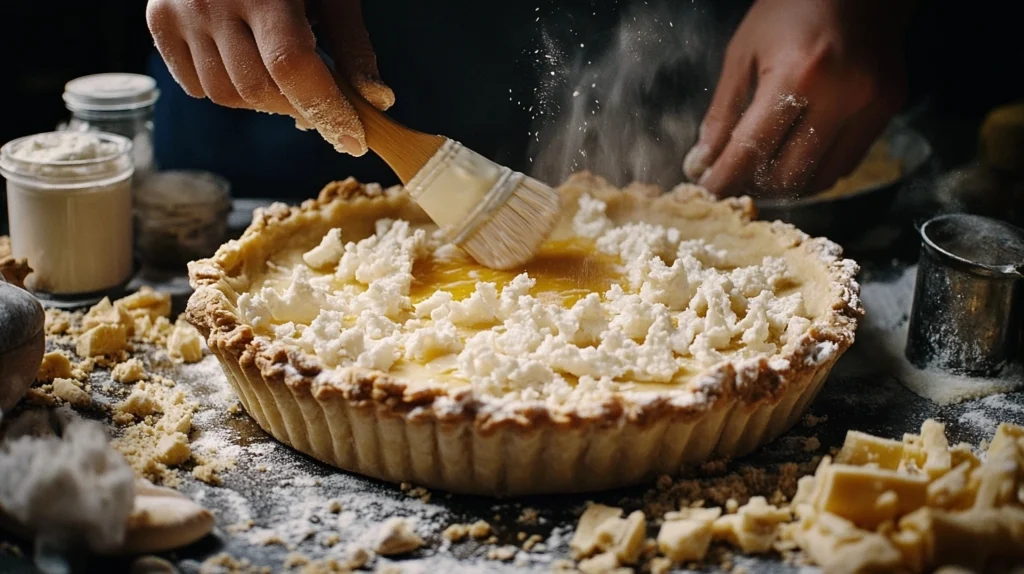
Brushing an egg wash onto the pre-baked crust forms a seal that blocks liquid from the filling. Simply whisk an egg with a splash of water or milk, then brush it onto the crust’s surface. The egg wash not only adds flavor but also acts as a waterproof barrier, keeping the crust crispy.

Using Bread Crumbs or Crushed Crackers
Sprinkling a thin layer of bread crumbs or crushed crackers onto the crust before adding the filling is another effective trick. These dry ingredients absorb any excess liquid, acting like a sponge to prevent the crust from becoming soggy. Choose unseasoned bread crumbs or plain crackers to avoid overpowering the pie’s flavor.
Adding a Layer of Cheese
A thin layer of shredded cheese can create an extra moisture barrier. Parmesan, cheddar, or mozzarella works well. Simply sprinkle cheese over the crust while it’s still warm from blind baking. As the cheese melts, it forms a protective layer that shields the crust from moisture.
Adjusting the Filling to Reduce Moisture
Pre-Cooking the Filling Ingredients to Prevent Soggy Pie Crust
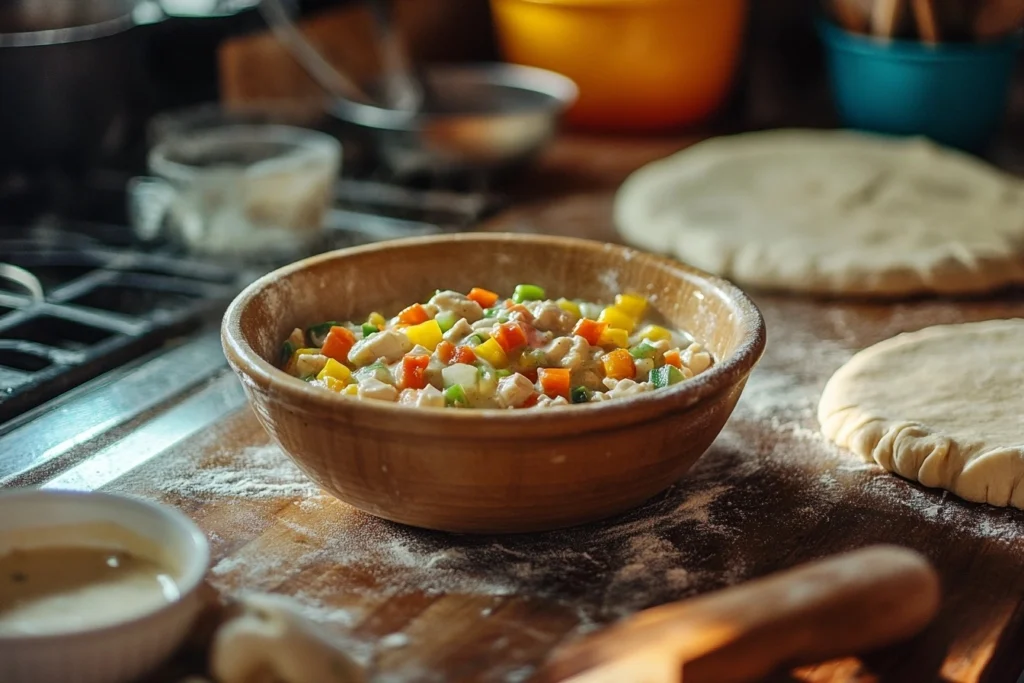
Cooking the filling ingredients in advance is one of the most effective tips for chicken pot pie crust preservation. Sauté vegetables like onions, carrots, and celery to release their natural moisture before mixing them into the filling. When preparing the chicken, make sure it’s fully cooked, and drain any residual juices. By removing excess liquid early, you avoid saturating the crisp bottom crust for chicken pot pie later.
Thickening the Filling Properly to Avoid Soggy Pot Pie
Achieving the right filling consistency is crucial to preventing sogginess. Use thickening agents like flour, cornstarch, or roux to create a creamy, cohesive filling that won’t seep into the crust. Gradually add your thickener while stirring to avoid lumps. For more information on thickening agents and their health benefits, visit Healthline’s guide to cooking with starches.
Cooling the Filling Before Assembly to Prevent Soggy Crust
Hot filling generates steam, which can saturate the bottom crust before it has time to bake properly. Let the filling cool to room temperature before spooning it into the pre-baked crust. This step is simple but essential for creating a crisp bottom crust for chicken pot pie.

Optimal Baking Temperatures and Times to Avoid Soggy Pot Pie
Importance of High Initial Temperature for a Crisp Bottom Crust
Using a high initial oven temperature, around 425°F (220°C), ensures the bottom crust sets quickly. This prevents moisture from the filling from soaking into the crust. After 15 minutes, reduce the oven temperature to 375°F (190°C) to evenly cook the top crust and filling. Without this step, your chicken pot pie crust may turn mushy instead of golden and crisp.
Using a Pizza Stone or Steel for Even Heat Distribution
Place your pie dish on a preheated pizza stone or steel to evenly cook the bottom crust. These tools help distribute heat efficiently, ensuring the bottom crust stays crisp. This technique is especially helpful for avoiding the common pitfall of unevenly baked pies.
Monitoring the Baking Process to Prevent Soggy Bottom Crust
Frequent monitoring during baking helps you catch any issues early. Rotate the pie halfway through to promote even cooking. If you’re using a glass pie dish, check the crust’s progress by looking at the bottom. A properly baked crust should be golden brown and firm—proof that it’s resisted the filling’s moisture.
Proper Venting Techniques
Creating Steam Vents in the Top Crust
Steam vents are essential for letting excess moisture escape during baking. Without them, steam from the filling can build up, condensing on the bottom crust and causing it to become soggy. Use a sharp knife to cut small slits in the top crust before baking. For a decorative touch, you can create patterns like leaves or stars while ensuring functionality.
Utilizing Pie Birds or Chimneys
A pie bird or chimney is a ceramic tool that allows steam to escape more effectively. Placed in the center of the pie before adding the top crust, it directs steam upwards and out, reducing the likelihood of moisture buildup. This tool is particularly handy for larger, deeper pies that generate a lot of steam.
Choosing the Right Pie Dish
Material Considerations (Glass, Metal, Ceramic)
The type of pie dish you use can make or break your crust’s crispiness. Glass dishes are popular because they allow you to see the bottom crust as it bakes, ensuring it’s cooking evenly. Metal pans, particularly aluminum, conduct heat quickly and evenly, making them ideal for achieving a crisp bottom. Ceramic dishes, while visually appealing, tend to distribute heat less effectively, which can lead to uneven baking. Choose based on your priorities—practicality or presentation!
Size and Depth of the Dish
The dish size matters when it comes to proper crust-to-filling ratios. A standard 9-inch pie dish with moderate depth works well for chicken pot pie. Deeper dishes might require adjustments in baking time and can increase the risk of sogginess if not carefully managed. Avoid overcrowding the filling to maintain structural integrity.
Handling Leftovers
Reheating Methods to Maintain Crust Integrity
To keep the crust crisp while reheating, avoid the microwave, which can make it soggy. Instead, use an oven preheated to 350°F (175°C). Cover the pie with aluminum foil to prevent the top crust from burning and heat for about 15–20 minutes. If possible, reheat on a lower oven rack to ensure the bottom crust firms up without overcooking the filling.
Storing Tips to Prevent Sogginess
Store leftover chicken pot pie in an airtight container in the refrigerator for up to three days. Before refrigerating, allow the pie to cool completely to prevent condensation, which can soften the crust. Avoid wrapping the pie directly in plastic wrap; use foil or parchment paper instead to preserve its texture.
Storage and Reheating Tips at a Glance
| Aspect | Best Method | Why It Works |
|---|---|---|
| Reheating | Oven at 350°F, lower rack placement | Maintains crisp crust and evenly heated filling |
| Cooling Before Storage | Allow pie to cool before refrigerating | Prevents condensation and soggy crust |
| Covering | Use aluminum foil or parchment, not plastic | Keeps texture intact while preventing moisture |
Frequently Asked Questions (FAQs)
Why does my chicken pot pie have a soggy bottom crust?
A soggy bottom crust often happens because of excess moisture in the filling, inadequate baking techniques, or poor heat distribution. To fix this, pre-bake (blind bake) the crust, thicken the filling properly, and use the right pie dish—glass or metal works best for even heat. Additionally, ensure the oven is preheated to a high initial temperature to set the crust before adding the filling.
What to serve with mini chicken pot pies?
Mini chicken pot pies pair wonderfully with simple side dishes. A fresh green salad with a light vinaigrette complements the richness of the pot pie. For a heartier meal, serve with roasted vegetables or creamy mashed potatoes. A side of warm bread rolls or biscuits is also a popular choice. Wondering what pairs well with mini chicken pot pies? Check out this guide on delicious side dishes to serve with mini chicken pot pies for creative and tasty ideas.
How to make mini chicken pot pies?
To make mini chicken pot pies, prepare the filling using cooked chicken, vegetables, and a creamy sauce. Roll out pie dough or use store-bought dough, cutting it into circles to fit your muffin tin or ramekins. Add the filling, top with a smaller dough circle, seal the edges, and bake until golden brown. For a step-by-step guide on preparing mini chicken pot pies, check out this comprehensive article on how to make mini chicken pot pies for all the details you need.
How long to bake mini chicken pot pies?
Mini chicken pot pies typically bake at 375°F (190°C) for about 25–30 minutes. To ensure even cooking, rotate the tray halfway through baking. Check that the crust is golden brown and the filling is bubbling before removing them from the oven. For precise baking times and tips to achieve perfect results, check out this helpful guide on how long to bake mini chicken pot pies.
How to make mini chicken pot pies with biscuits?
Instead of traditional pie crust, you can top mini chicken pot pies with biscuit dough. Place the filling in small ramekins, then add a layer of biscuit dough on top. Bake at 375°F (190°C) until the biscuits are puffed and golden, usually 20–25 minutes.
What happened to Banquet pot pies?
Banquet pot pies are still widely available, though their recipe and packaging may have changed over time. Some consumers have noted adjustments in taste or size. If you’re searching for a specific flavor or version, check the freezer aisle or Banquet’s website for the latest product lineup.
How many calories in a mini chicken pot pie from Marie Callender’s?
A mini chicken pot pie from Marie Callender’s contains approximately 300–400 calories, depending on the exact size and recipe. Check the packaging for detailed nutritional information to confirm specific calorie counts.
Summarizing Key Points
Recap of Preventative Measures
Keeping the bottom crust of a chicken pot pie from getting soggy requires attention to detail at every stage of the process. Start by understanding the common causes—excess moisture, improper baking techniques, and poor heat distribution. Use preventative measures like blind baking the crust, creating a moisture barrier with egg wash or cheese, and thickening the filling to reduce liquid. Baking strategies, including using a preheated pizza stone and cutting steam vents, also play a crucial role. Finally, choosing the right pie dish and properly handling leftovers ensures your pie stays crisp and delicious even after baking. By following these steps, you’ll master how to keep the bottom crust of a chicken pot pie from getting soggy.
Encouragement to Apply Techniques for Perfect Pies
With the techniques outlined in this guide, making a chicken pot pie with a perfectly crisp bottom crust is well within your reach. Don’t let the fear of a soggy crust keep you from enjoying this classic comfort food! Whether you’re hosting a family dinner or simply craving a hearty homemade meal, applying these tips will guarantee a pie that’s as beautiful as it is tasty. Roll up your sleeves, grab your favorite pie dish, and tackle how to keep the bottom crust of a chicken pot pie from getting soggy with confidence—your next chicken pot pie is bound to impress!

